In this article we will look at how to create a backup of WordPress. We'll see how you can create a complete backup of your website in case of problems. In fact, it is important to create regular backups to be able to react quickly in case of a malfunction.
How to create a WordPress backup
There are basically three ways so that the files of your website can be secured.
- Manually with an export of the database and the files
- Simple via plugin
- Automatically by your hosting provider
Since not everyone has the latter option available, we'll look in particular at an ingenious plugin and the manual approach. Backups are often underestimated, so we'll first clarify why backups are indispensable.
Why create a WordPress backup?
If you use WordPress regularly, you often have the impression that nothing can happen because it is a very stable CMS. However, it can happen that your website becomes inaccessible for many reasons related to the WordPress files or database.
For example, an update may have been installed incorrectly, resulting in an error accessing the website or a blank page. However, there may also be other reasons such as:
- A hack of your WordPress pages
- Faulty plugins or files with gaps that cause the page to crash
- Accidental deletion of data.
Thus, the reasons can be manifold. In all these situations, you will be glad to have a backup with which you can quickly restore your website.
How can you create a WordPress backup?
First of all, let's take a look at how a WordPress website works. These are composed of two things. First, the original files of your WordPress website, to which are gradually added the files of extensions, themes and images. Second, the database, which contains the information associated with the website, such as users, articles, pages, plugins, options, etc. These two elements (files and database) are connected by the wp-config.php file.
To create a backup of your website, you can use plugins. The problem with many extensions is that they often focus on the database. This allows you to restore the database, but if the problem is in the files, the backup will have no effect in an emergency.
So we will look at how to create a WordPress backup without using plugins for it as well as with a plugin without this drawback. So you can decide which variant suits you and your requirements. By the way, this approach is very interesting if you need to migrate (=move) your website to a new URL. It's the same principle if you move WordPress from a local server to a hosting server.
Check out our video on how to create a WordPress backup:
Manual backup in 4 simple steps
Below you will find the different steps to create a backup of WordPress in manual mode. We would like to draw your attention to the last step, which is actually not a step, but explains the options that your hosting provider can offer you in this area. It is rather an addition of information.
Step 1 - Retrieve all files from the website
As mentioned earlier, a Worpdress web page is divided into two parts. The file part and the database part. Let's start with the files. You need to connect to your hosting server via the FTP protocol.
Simply put, you can easily manage files in folders just like on your computer. For example, use the FTP client Filezilla and connect to the FTP server of your hosting provider. You will usually find these login details in an e-mail from your provider. If not, you can go to the FTP tab in the customer area of your hosting provider. You may need to create a user and password. Some providers also offer an FTP client (also called file manager) directly in the browser.
In the left pane of Filezilla you can create an empty folder. The WordPress files are usually located in the WWW folder (or the name of your domain) on your web host. Once you have the folder, select all the files and folders and drag them to the folder you created in Filezilla. The download will start. Depending on the number and size of the files, the download may take a little longer.
Step 2 - Secure your database
To secure the WordPress database with our own means, we have two options. Use a plugin for this or do it yourself. This is especially easy if your hosting provider supports "phpMyAdmin".
Step 2.2.1 - Connect to the database
Depending on your hosting provider, you may have a direct URL to connect to your database interface. Usually you have to go to the customer area of your web host and access the database there. This is where you will find your connection details to the database.
Here you will also find the possibility to access the data via phpMyAdmin. For some hosts the fields are already filled in (server address, database name, login) and you only have to enter the password.
Step 2.2.2 - Exporting the database
Once the connection is established, you will see all the tables in your database. This is where your website data is stored (users, posts, pages, options and much more).
In the horizontal menu at the top of phpMyAdmin you will find a tab called "Export". Just click on it and confirm the default options (export in SQL format). After that, the SQL file will be downloaded to your browser. Keep it safe.
Step 3 - Restore the backup
Now we have created a backup of WordPress. If a problem occurs, it can be easily fixed. You just have to do the opposite to restore. So you reconnect to Filezilla and send all the files back to the original folder.
Step 4 - Import the database
You connect to PhpMyAdmin again and delete the tables.
Then click on "Import". There you select the SQL file created in the previous step and start the import.
That's it, your website should be up and running again now.
Use backup plugin for WordPress
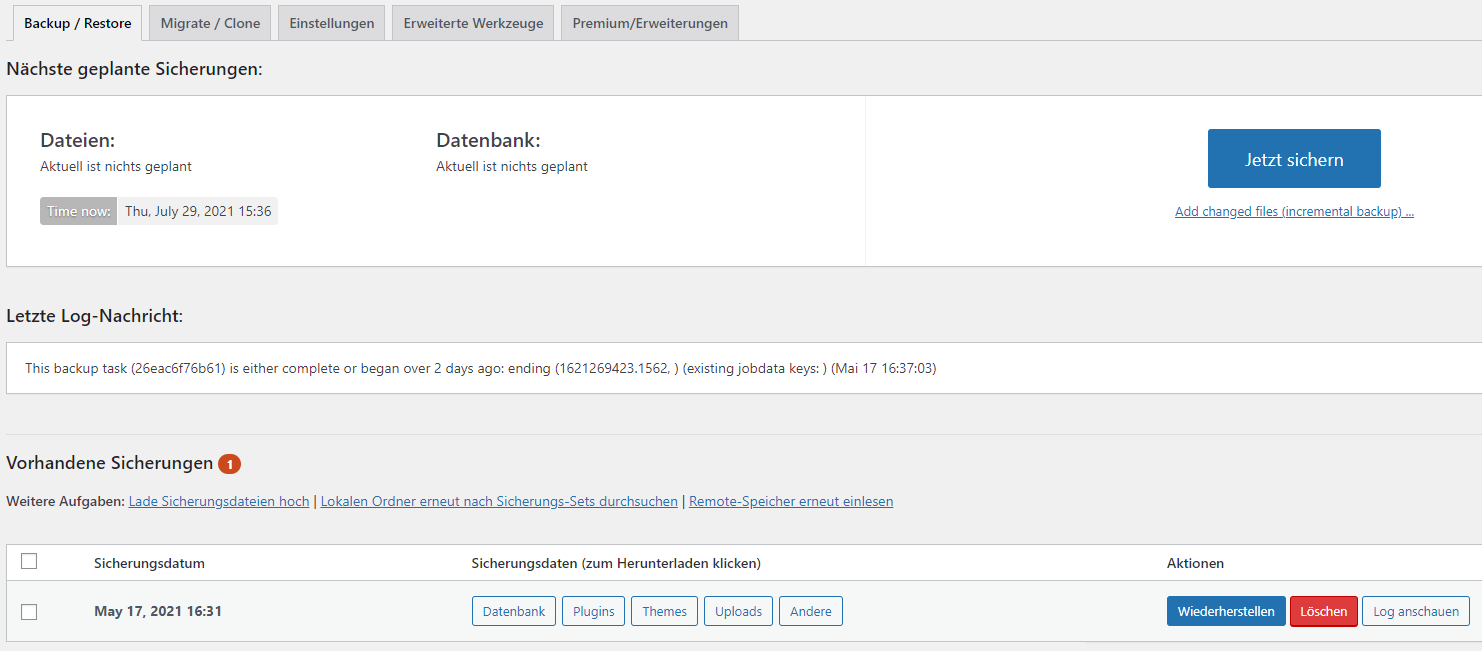
Manual backup can be a bit more time-consuming for beginners, so you can also do backups with a plugin. For this we use UpdraftPlus* . Unlike other plugins, Updraft allows you to backup the database, plugins, themes and uploads individually. You can also set an automatic backup for a regular period. In the WordPress backend it looks like the following picture.

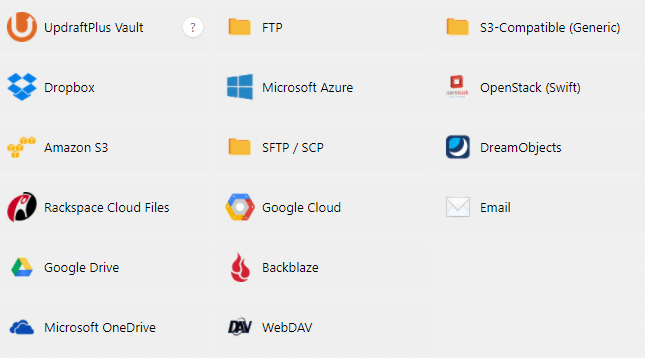
For added security, you should not store the key on the lock. For your backup data, this means that you can use Updraft to store it in another location, such as a cloud. Here you can use different connections like Dropbox, FTP or Google Drive.

Other method - backup by the provider
This is not an additional step, but additional information. Depending on the provider you choose, you may have more or less options available. However, nowadays many hosters offer hosting restore. This will restore all files at the time your hoster created the backup (usually overnight or every 14 days). However, it is better to make a manual backup. Therefore, make sure in advance if your hosting provider has this option. Raidboxes* creates a backup for you every day as shown in the next picture:

We have just seen that your files can be restored at a later time, depending on the hoster. You should still create your own WordPress backup according to the motto: "Double is better".
Conclusion
With the Updraft plugin you can perform a backup really easily and safely. You can also automate the backups or backup only certain files. You can never be too careful with this topic. It's always good to make your own backups than depend on an external service. However, if you're skilled, you can easily backup without a plugin using this guide.
Are you ready to convert your website visitors into customers?
We will be happy to help you with our knowledge for better results.
Any link with a "*" mark at the end is an affiliate link. You do not pay more in any case! I only get a small commission for the recommendation. A mention in text, video or audio of the keywords "leading, leading, best, bestest" only represents my/our opinion and all products have been tested by me personally.

